A Foam Bond Starts With Two Known Surfaces
Foam gluing technique is the controlled preparation, application, alignment, restraint, and curing of a compatible adhesive joint. It is not simply choosing a glue that says strong on the package. The foam may be flexible or rigid, faced or bare, smooth or porous; the other surface may be another foam, timber, fabric, or a coating. Those differences determine which adhesive and application method make sense. A successful joint also needs a design that the foam can support. Follow the selected product’s current instructions, prove the complete combination on a representative sample, and plan restraint before opening the container. The steps below explain the decisions, while leaving product-specific quantities and cure conditions with the manufacturer.
A: No. Identify both surfaces and use documented compatibility for the actual product.
A: No. The foam, facing, fit, or load path may fail first.
A: Follow the selected product; application methods differ.
A: Do not assume a named panel method suits a different joint geometry.
A: Expansion alone does not establish useful gap-filling strength or suitability.
A: It reveals alignment, access, support, and restraint problems while they can still be corrected.
A: Avoid crushing the substrate; use suitable fit and distributed restraint.
A: No. Product, geometry, temperature, humidity, and other conditions govern the required interval.
A: Use only curing methods explicitly supported by the product and appropriate equipment.
A: Identify whether failure occurred in adhesive, an interface, a facing, or the foam, and review the service conditions.
Step One: Define the Joint’s Job
Describe what the joint must hold and how it will be used. Joining two decorative blocks, laminating a flexible cushion, attaching a large panel, and supporting an overhead feature are different applications. Consider movement, moisture, temperature, handling, and whether the seam will later be carved or painted. A small craft success does not establish suitability for a public installation or a load-bearing attachment.
Look at where forces enter the foam. A powerful adhesive can remain attached while the surrounding weak material tears. Increasing glue strength does not fix an undersized contact area, unsupported leverage, or a poorly designed insert. Obtain appropriate engineering or specialist advice when structural, overhead, public-contact, or other consequential loads are involved. Do not use a foam adhesive as an improvised substitute for a designed support system.
Step Two: Identify Both Substrates
Confirm the exact foam and the other bonding surface. Identify facings, skins, old paint, release agents, previous repairs, or embedded materials that change the contact. A glue compatible with bare foam may not bond an attached film, and a coating may separate from the foam even when the adhesive bonds well to the coating. The joint is only as reliable as the layers through which its load travels.
Obtain product information from the foam and adhesive suppliers. Ask about the actual combination and intended use rather than whether the glue works on foam in general. Polyethylene, polystyrene, polyurethane, and flexible materials with particular additives may require very different advice. Similar appearance does not establish similar surface chemistry, and a familiar brand can sell several adhesives with unrelated formulations.
Keep a material record for the job, including identifiers for offcuts used in testing. If a part is salvaged or its surface history is unknown, resolve that uncertainty before bonding it into a larger object. An unidentified layer can make a failed test difficult to interpret and a successful test difficult to repeat. Known replacement stock may be more practical than trying to characterize an uncertain piece.
Distinguish a product’s compatibility from its cure mechanism. Some systems depend on evaporation, others on a chemical reaction, moisture, or mixing components. A large joint between relatively nonporous faces can behave differently from a small exposed edge. Ask whether the adhesive supports the proposed bond geometry, especially when most of the applied material will be enclosed after assembly.
Step Three: Select the Adhesive and Read Its Whole Method
Read the technical data sheet, label, and safety information before purchasing. Identify compatible substrates, preparation, application temperature, open time, assembly method, restraint, cure, cleanup, and exclusions. Do not combine instructions from different products to create a hybrid method. A contact adhesive’s waiting step, a wet-set adhesive’s immediate assembly, and a reactive adhesive’s mixing process are not interchangeable.
Henkel’s PL 300 product information describes a particular latex-based foamboard adhesive and its intended applications. Its technical instructions include a specific panel application and restraint approach. That is evidence for following a named method, not a universal bead layout to copy onto every sculptural foam joint.
Similarly, Original Gorilla Glue is a moisture-activated expanding product, and the manufacturer’s instructions describe thin application, restraint, and product-specific cure. The fact that it expands does not make every resulting void a sound structural fill. Choose such a product only when its documented use fits the surfaces, geometry, and outcome you need.
Step Four: Test a Representative Joint
Make a sample using the actual foam, mating material, preparation, adhesive, bond area, and restraint method. Include any facing or finish that will be present. Record application conditions and follow the intended cure instructions before evaluating. Watch for recession, swelling, surface damage, poor wetting, excessive expansion, incomplete cure, or a seam that behaves differently from the surrounding foam.
Evaluate the sample for the real task without pretending that a hand pull is a certified load test. For a decorative joint, it may reveal obvious incompatibility or poor fit. For consequential loads, obtain an appropriate test or design assessment. Note whether failure occurs in the adhesive, at an interface, in a facing, or within the foam. Those observations point toward different causes and different revisions.
Keep the accepted sample and its notes until the project is complete. If the adhesive, foam grade, surface treatment, or joint design changes, repeat the relevant evaluation. A successful coupon belongs to the conditions under which it was made. It does not approve every other product sold under the same broad material name.
Test the next operation too. A cured seam can be harder, softer, or differently responsive to abrasion than the core, making a visible ridge during shaping. A coating can emphasize that difference. Include a small finishing trial when appearance matters, so a strong bond does not become a late cosmetic problem across the most visible part of the sculpture.
If the test fails, change one understood aspect at a time and document why. Do not simply apply more glue until a sample seems difficult to separate. Excess material may change cure and fit without solving incompatibility. Supplier advice is especially useful when the failure involves an unexpected chemical reaction or a joint that remains soft beyond the documented conditions.
Step Five: Dry-Fit and Prepare the Faces
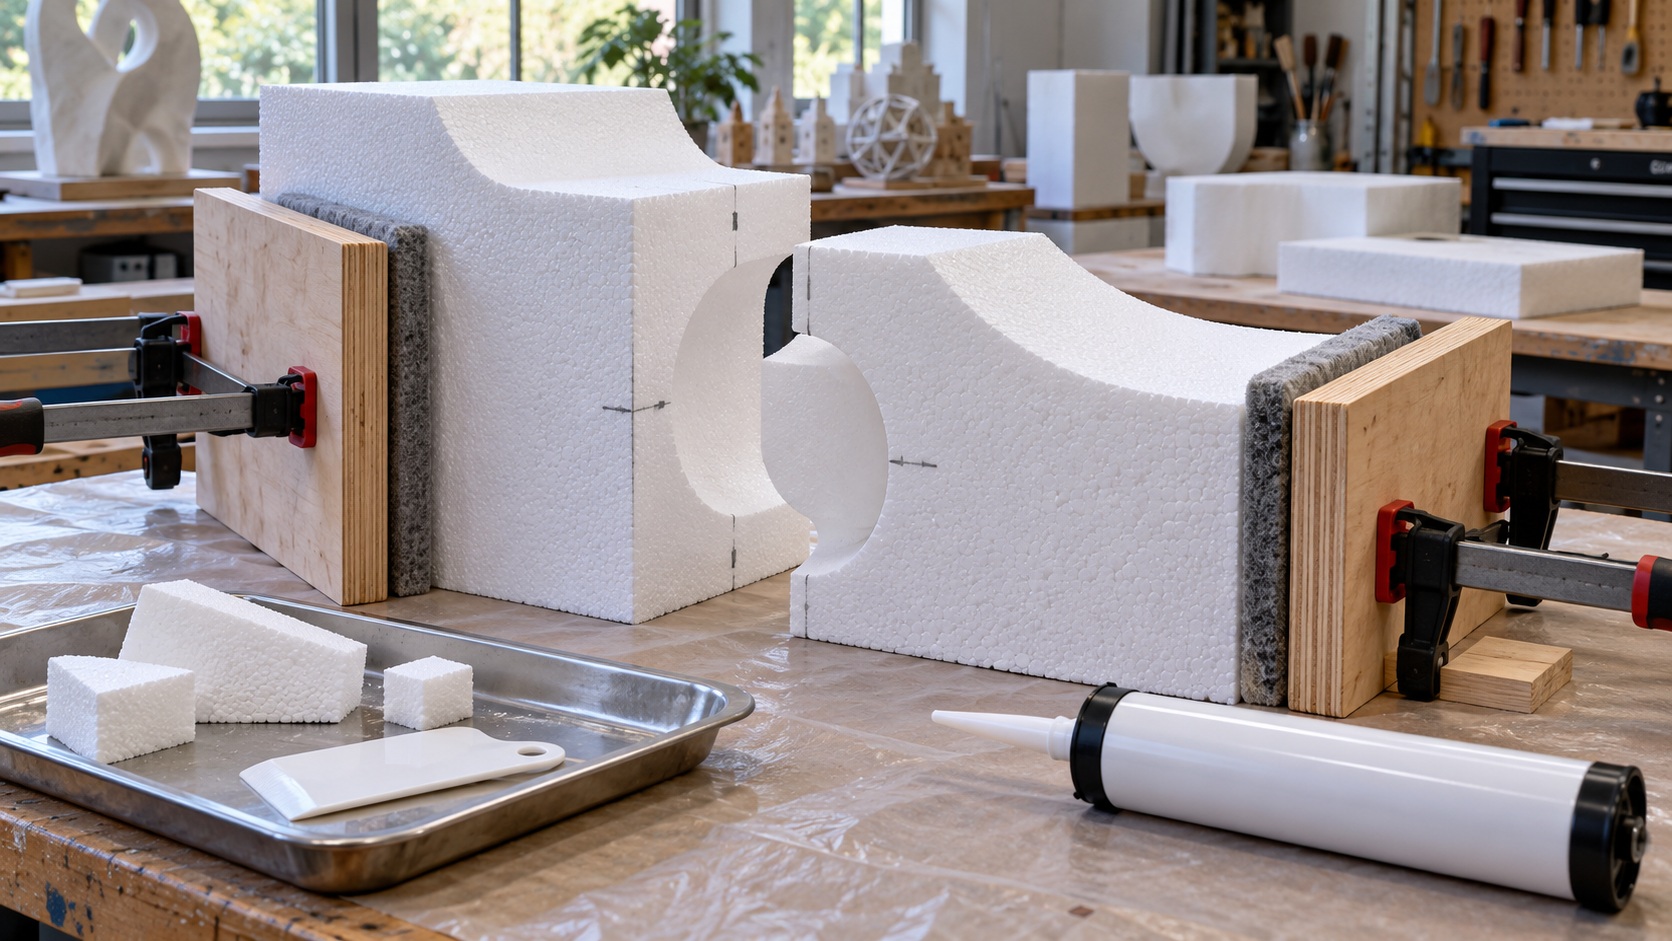
Cut and assemble the parts without adhesive first. Check alignment from the viewpoints that matter, identify orientation, and confirm that the joint can close without force that crushes the foam. Correct poor fit through suitable shaping rather than assuming glue will bridge every gap. Prepare a flat support and establish where clamps, cauls, or other approved restraints will go.
Remove loose debris through an appropriate controlled method and follow the product’s preparation requirements. Do not wipe foam with an arbitrary solvent to make it clean; a cleaner can damage the substrate, leave residue, or introduce a new exposure. If abrasion is specified, assess and control the resulting dust. Allow any required drying and keep the prepared faces free of handling contamination.
Step Six: Stage the Work and Apply as Directed
Arrange the applicator, restraints, protective equipment, cleanup supplies, and waste destination before dispensing. Protect the bench with a suitable compatible surface, while ensuring it does not become part of the bond accidentally. Keep clean personal items away from the chemical work. Review the safety information for ventilation, eye protection, and gloves appropriate to the actual formulation and contact conditions.
Apply the specified amount, pattern, and number of coated faces. Some products require a film, others a defined bead arrangement, and some a particular mixing procedure. More coverage is not automatically better. Follow the manufacturer’s open-time and assembly directions, including any required waiting stage. Do not add thinner, water, activator, or another ingredient unless the selected product explicitly calls for it.
For a large assembly, rehearse how it will be brought together within the allowed working period. An assistant may be useful, but roles and hand positions should be agreed before glue is present. Break the job into suitable stages if the product and design permit. A rushed full-size lamination is not improved by discovering halfway through that the remaining face cannot be reached.
Step Seven: Align and Restrain Without Crushing
Bring the parts together using the approved method and verify reference points before the adhesive prevents adjustment. Contact-type systems may offer little repositioning, while other products allow movement during their working period. Respect that difference. Avoid sliding large pieces around blindly if doing so scrapes the adhesive away or contaminates the exposed surface.
Use restraint suited to the product and foam. Broad cauls or pads can distribute pressure, but their arrangement must still hold the intended alignment. A narrow clamp jaw can crush a soft substrate while leaving another area unrestrained. Do not improvise heavy weights that create an unstable stack or require someone to catch shifting parts. The setup should remain controlled throughout cure, not only while hands are holding it.
Account for expansion when the chosen adhesive has that behavior. Restraint, quantity, and joint geometry need to follow the instructions. Foamed squeeze-out is not evidence that the enclosed bond is fully cured or uniformly strong. Avoid using fingers to push escaping adhesive back into the seam. Manage it through the documented cleanup or post-cure removal method, with appropriate protection.
Check that restraint has not introduced a twist or distorted a flexible part. Compare the assembly with its reference surface and confirm the intended shape before leaving it. A bond can cure perfectly while locking in an unwanted bend. For repeated parts, a suitable jig may improve consistency, but it should reflect an already understood method rather than conceal a fit problem through force.
Step Eight: Allow the Required Cure Before Further Work
Distinguish working time, handling strength, clamp time, and full cure. They are not universal synonyms. Follow the product’s requirements and the actual environmental conditions rather than assuming every foam joint is ready the next morning. A large enclosed bond may need consideration beyond what is visible at its perimeter. Ask the supplier if the geometry or conditions fall outside the documented example.
Keep the assembly supported and restricted from unintended handling. Tell other workers when restraints may be removed and which operations must wait. Do not accelerate cure with an unapproved heat gun or heater, especially around foam and chemical products. If tackiness, abnormal heat, movement, or another unexpected condition occurs, stop and obtain product-specific advice before cutting, coating, or loading the joint.
Step Nine: Inspect, Finish, and Keep the Method Traceable
Inspect the cured assembly for alignment, open areas, layer separation, surface damage, and unexpected movement. Use the acceptance method appropriate to the application; appearance alone does not establish structural capacity. Remove squeeze-out only through the approved procedure and assess dust if machining cured adhesive. Keep powered-tool and chemical tasks under their respective controls rather than treating finishing as an unimportant last step.
Close containers and manage applicators, residues, and contaminated materials according to product instructions and relevant local waste arrangements. Do not clean skin with workshop solvents or combine unrelated leftovers in a waste cup. Record the actual products, cure conditions, and any deviations that matter to future repair. The next person working on the object should not have to guess what created its seam.
For a later failure, preserve useful evidence before applying another adhesive. Photograph the separated faces, note the service conditions, and identify which layer released. Rebonding contaminated fragments without understanding the cause can repeat the problem or make it harder to investigate. A revised joint, different product, or separate support may be more appropriate than a stronger-sounding glue.
Let Compatibility and Fit Lead
Identify both faces, test the complete joint, prepare accurate fit, and follow one documented adhesive method through cure. Good foam gluing depends on the whole connection, not on the strongest claim printed on a tube.