A More Reachable Starting Point for Sculpture
Foam can lower several barriers that keep a first sculpture on the sketchbook page. A modest block is easy to move, visible changes happen quickly, and a practice piece need not represent a major financial commitment. Those qualities create room to experiment before a beginner has acquired a large workshop or years of tool experience. They do not make sculpture effortless or equally accessible to everyone. Cutting, dust control, workholding, finishing, storage, and the cost of a complete project still matter. The useful revolution is not a claim that anybody can make anything with foam. It is the possibility of choosing a manageable first question, testing it physically, and learning enough from the result to make the next decision with confidence.
A: A modest study may fit a small suitable workspace, provided the chosen processes and controls can be supported.
A: A single observable question about shape, depth, proportion, or finish.
A: Not when unknown identity or inconsistent behavior prevents a dependable result.
A: Yes. Design direction and assembly decisions remain meaningful sculptural work.
A: Compare it with the learning target and identify a specific next experiment.
A: When an observed task limitation justifies a suitable tool and its required setup.
A: No. Bare-form studies can isolate geometry without adding a finishing problem.
A: Test broader geometry or another construction before repeatedly patching the same weakness.
A: Ask focused questions that help you evaluate the intention of the piece.
A: Choose an exercise that directly addresses something the first study revealed.
Reduce the Commitment of the First Attempt
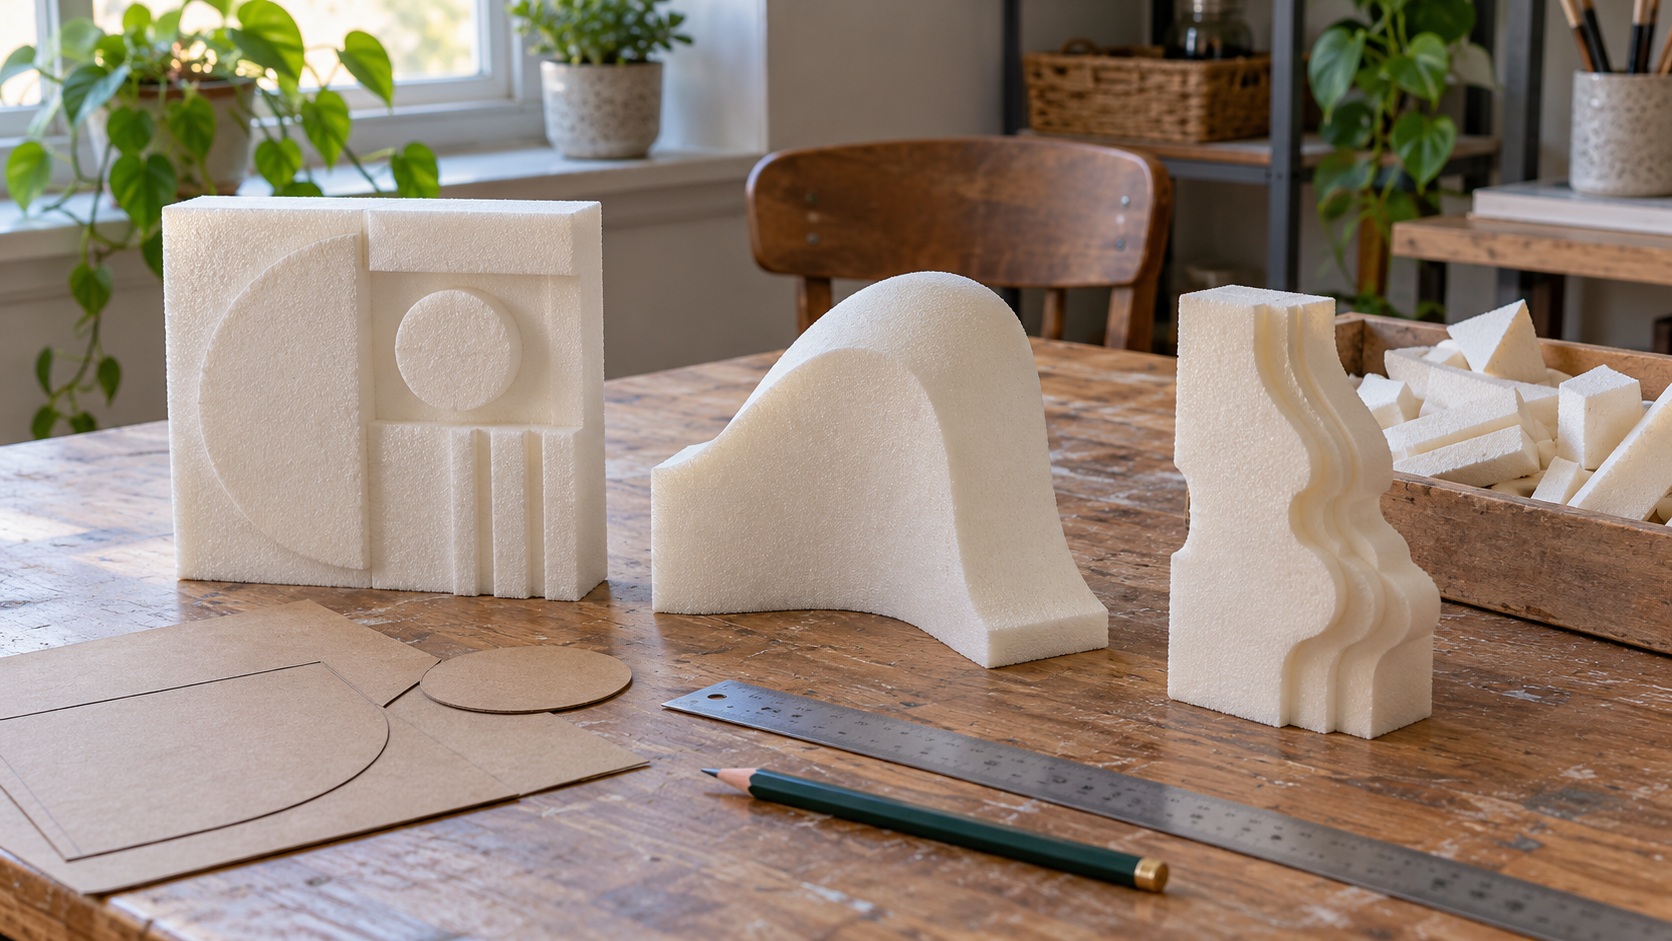
Begin with a project small enough to finish and large enough to handle comfortably. A broad relief tile, a simple vessel form for display, or a study of intersecting volumes can teach useful lessons without fragile projections. Avoid choosing the most complicated object that inspires you as the first exercise. An ambitious figure can be broken into studies of silhouette, torso mass, or a single fold. Completing one of those studies gives you a reference for the larger project. It also reveals which part of the process you enjoy before you buy supplies for a much more demanding build.
Define one learning target rather than demanding a polished masterpiece. You might investigate how three planes create a curved appearance, how a silhouette changes with rotation, or how a shallow recess catches light. A clear target lets an imperfect piece remain useful. If the recess reads well but the outside edge is uneven, you have still answered the original question and identified a separate skill to practice. Without that distinction, beginners can interpret every flaw as failure. Foam’s responsiveness is most valuable when it supports several small experiments instead of one exhausting attempt to get everything right at once.
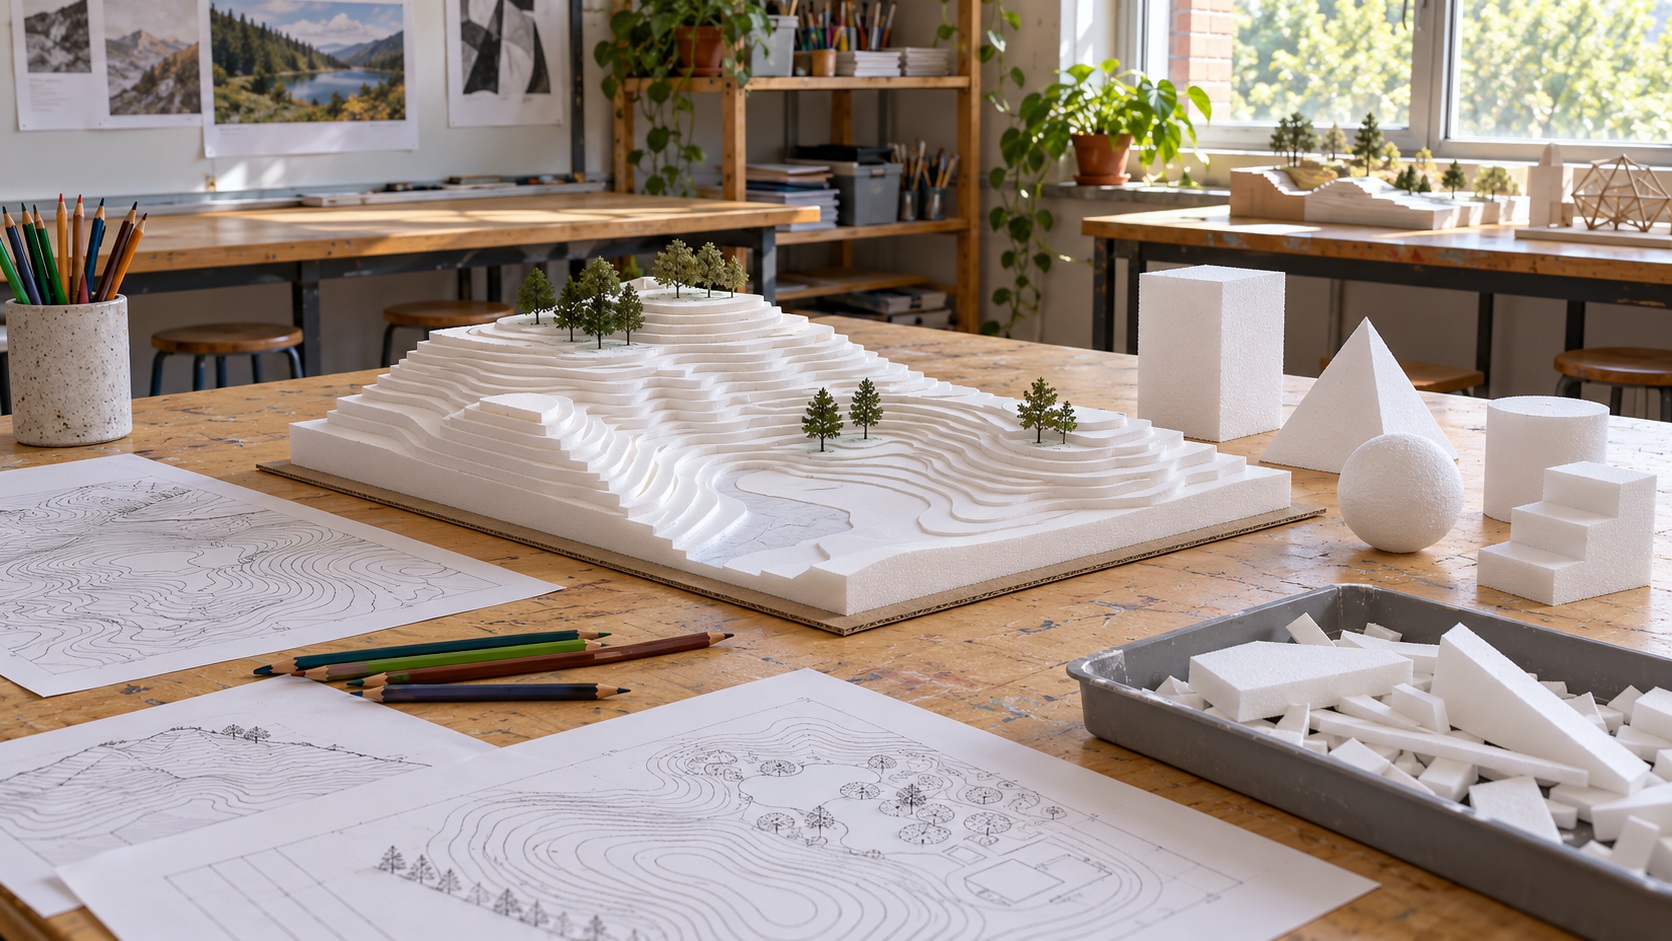
Use a measured sketch and a simple reference object to keep the task concrete. Mark the overall height, width, and major divisions before removing material. You do not need a professional drawing package to compare proportions, but you do need a way to notice when the work drifts. A cardboard profile or a photograph taken from a consistent position can reveal changes that are difficult to see while leaning over the bench. Keep the first study so the second can be compared with it. Progress becomes easier to recognize when you compare actual objects instead of a vague memory of how the previous one felt.
Choose a stopping rule before starting. For a practice form, that may be a clear silhouette and three resolved surfaces, without paint. For a finish study, it may be one prepared face and a recorded coating sequence. The stopping rule prevents a small exercise from expanding into weeks of patching. It also leaves time to reflect and clean the workspace. A beginner who finishes a modest study learns the whole cycle of planning, making, inspecting, and putting materials away. That complete experience is often more encouraging than owning a large unfinished block that becomes harder to approach each time it is seen.
Budget for the Project, Not Just the Foam
The block price is only part of the cost. Include suitable tools, a stable support, compatible adhesive if needed, surface treatment, cleanup, and storage. You may already own useful measuring equipment, brushes, or a work tray, but do not assume every household product is compatible with the chosen foam. Start with the minimum materials needed for the defined exercise and add equipment when an actual limitation appears. A broad collection of specialty tools can create expense without improving your understanding of the shape. One well chosen operation practiced carefully can teach more than switching constantly among unfamiliar devices.
Ask suppliers for a small documented sample where available. Different foam products behave differently, and a bargain block that tears at the required detail can cost more in frustration and repairs. Compare the actual task on the sample: a curve, recess, or joint. Keep the product name with the result so you can purchase the same material again. Recovered packaging can be useful for some experiments, but unknown composition and inconsistent condition make it a poor foundation for claims about predictable cutting or finishing. Use identified stock when repeatability is important, especially before applying unfamiliar products.
Borrowing tools or using a supervised community workshop can reduce the need for equipment ownership. Confirm what materials and processes the space permits before arriving with a block. Some facilities may not support dusty cutting, heated work, or particular coatings. A class can also provide something more valuable than equipment: observation of your holding position, sequence, and tool use. Ask for help with a specific difficulty, such as why a curve becomes faceted, rather than expecting a tool purchase to solve it. Shared resources are most useful when their training, access hours, and operating rules fit your project.
Make the Workspace Fit the Maker
Lightweight stock may reduce lifting effort, yet it can still be awkward to stabilize or reach around. Set the work at a comfortable height and orientation, with room for the tools and the material being removed. A smaller module can be easier to work on than a large block held at arm’s length. Use a suitable support rather than holding every piece in one hand. If a movement causes discomfort, pause and reconsider the task arrangement. Individual access needs vary; foam is one option for adapting a process, not a universal solution to mobility, grip, vision, or sensory barriers.
Separate the creative decision from the physical operation when helpful. A maker can design a profile, direct an assistant, assemble prepared pieces, or work through layered forms rather than perform every cut personally. Those approaches remain genuine sculptural authorship. Choose references that suit how you understand form: physical examples, high contrast outlines, verbal descriptions, and photographs can each clarify something different. Give yourself permission to change the medium for a difficult stage. A cardboard trial can answer an assembly question before a foam cut, and a clay study can explore a curve without making the finished sculpture a clay project.
Learn Through Controlled Removal
Work from large relationships toward small features. Establish the main outline, remove broad excess, and check the form before refining a detail. Foam’s easy removal can tempt you to keep cutting until a local surface looks right, even while the overall proportions drift. Turn the object regularly and compare it with the drawing. Leave extra material where the geometry is uncertain. A beginner does not need to remove the maximum amount in each pass. Frequent short inspections make the relationship between tool movement and resulting shape easier to understand and reduce the scale of an accidental overcut.
Practice the intended tool on spare material before the final blank. Notice the direction of travel, how the work is supported, where the tool enters and exits, and what happens at an edge. Use the tool according to its instructions and keep hands outside its path. Select operations that fit the workspace and training you actually have. A heated cutter or powered abrasive is not a necessary milestone in becoming a sculptor. Cold assembly, layering, and hand shaping can produce serious work. Introduce a more complex process only when it solves a real design problem and its required controls can be provided.
Identify the material and consult its instructions before using heat, adhesives, or coatings. Review labels and safety data, provide the specified controls, and choose a different method when your space cannot support them. An open window or a lack of noticeable odor does not establish adequate exposure control. Keep children and bystanders out of the working area as appropriate to the tools and products. For a beginner, a documented low-complexity process is a better learning platform than an improvised combination of unknown packaging and household chemicals. Good material habits make the next project easier to repeat as well as easier to understand.
Handle mistakes as observations about sequence and geometry. If a narrow tip breaks, compare its thickness with a broader version. If a surface tears, try a different direction or a more suitable stock sample before blaming your hand skills. Some errors can be repaired with an appropriate compatible material; others are more informative when left visible on a practice piece. Label the lesson in your notes and move on. Repeatedly rescuing a fragile detail can consume the time that would teach you to design a stronger one. The purpose of the first study is learning, not concealing every trace of the learning process.
Let Finishing Be a Separate Skill
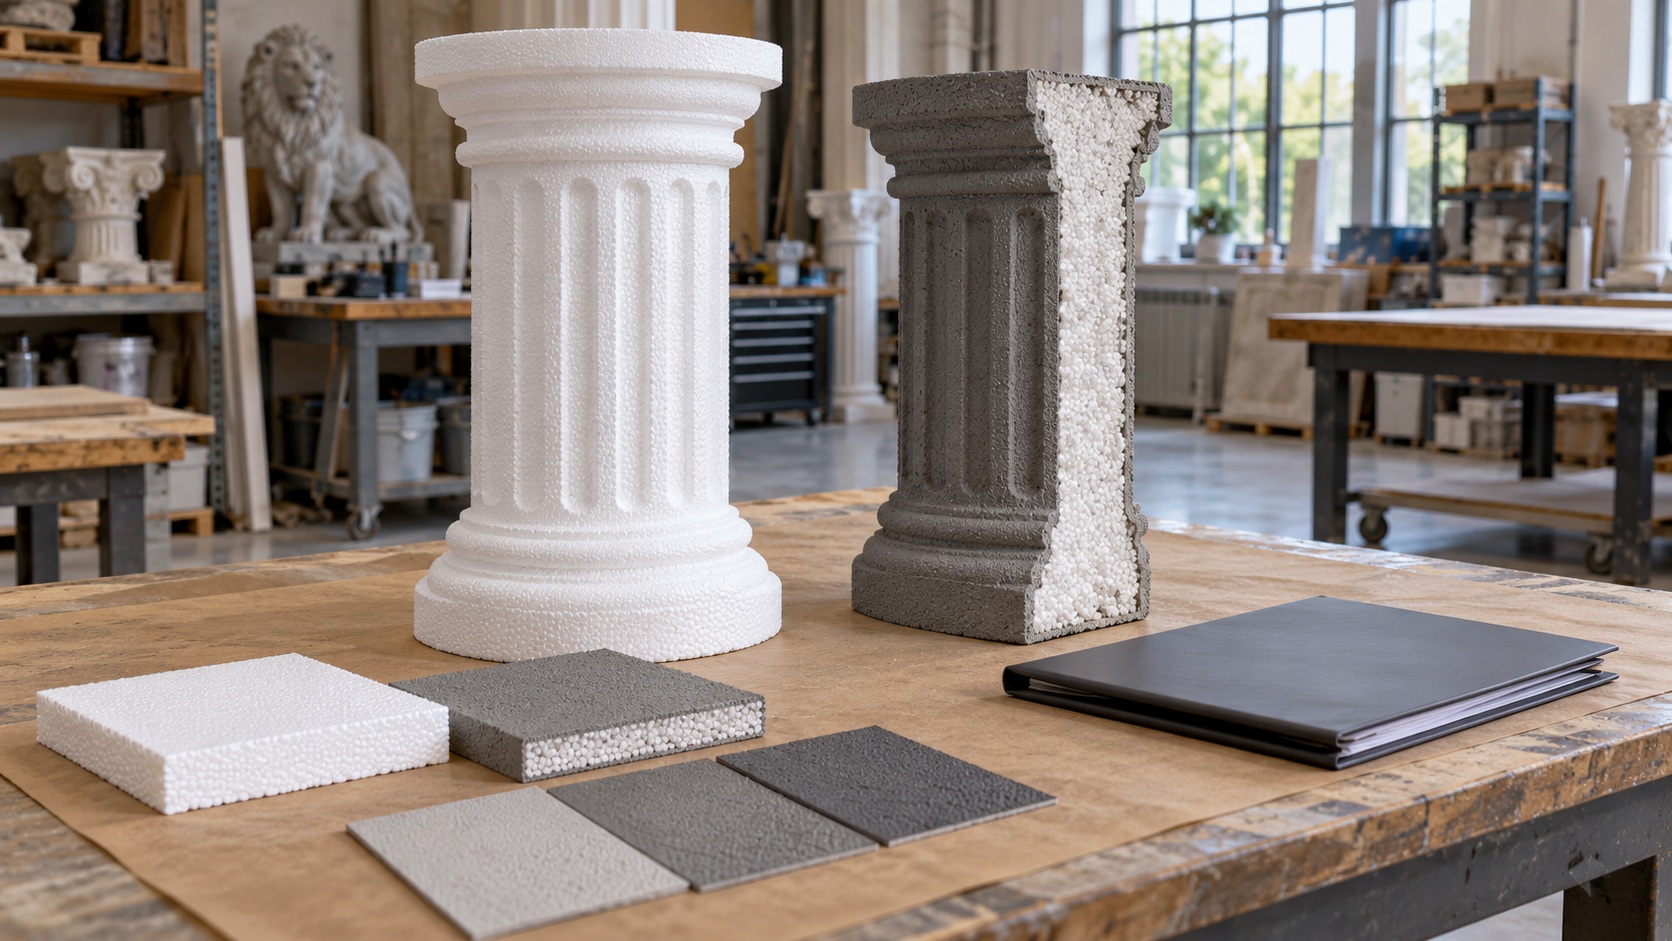
A coating can unify a surface, but it cannot automatically correct proportions or make a weak feature durable. Before finishing, look at the form without decorative distraction. Decide which edges and transitions matter at the intended viewing distance. Then test the proposed finish on an offcut containing a similar feature. Observe whether it fills a groove, rounds an edge, or creates a texture you want. Follow product instructions for preparation, thickness, and drying or cure. Keep the first finish simple enough that you can tell what each stage contributed. Several unfamiliar layers make it difficult to diagnose a disappointing result.
Do not confuse a dramatic online transformation with a complete account of the work. A short video may omit preparation, drying periods, exposure controls, failed samples, or the object’s condition after handling. Treat it as a visual reference, then obtain the actual product information and make a small trial. Photograph the trial under more than one light direction. A surface can look smooth from the front and uneven under side light. Decide whether that difference matters for your object. You can learn to make a convincing painted stone effect without claiming that the underlying foam has become stone in strength or fire behavior.
Build a Practice That Can Continue
Store a few useful offcuts and finished studies with their material names, dates, and notes. Do not keep every fragment simply because it might be useful someday. Choose pieces large enough for an identified next exercise and contain the rest for an appropriate local waste route. Clean fabrication scraps and coated remnants may have different recycling possibilities, so check actual acceptance rather than making assumptions. A manageable workspace makes it easier to begin again. A large accumulation of unidentified stock can turn a welcoming hobby into a sorting task before any creative work can happen.
Seek feedback with a focused question. Ask whether the silhouette reads from the side, whether the relief has enough depth, or which transition seems unresolved. A clear question helps a classmate or mentor respond to your intention rather than impose a different style. Include the reference and an intermediate photograph if they help explain the problem. Compare advice against the function and viewing conditions of your piece. You do not need to adopt every preference offered. Learning sculpture includes deciding which criticism addresses the work you are trying to make and which belongs to a different project.
Choose the next exercise from an observed need. If the first piece lacked proportion, make a short measured-volume study. If the finish obscured detail, make a coating sample rather than another complete sculpture. If the making was enjoyable but the cleanup was burdensome, try a layered or precut approach. This progression makes access personal and practical: the process changes around what you learn about the material and yourself. Foam can provide a forgiving place to begin, but continued practice comes from manageable commitments, useful feedback, and a working arrangement you can sustain without an ever expanding list of equipment.
Access Means Having More Than One Way In
Foam can make a first sculpture more achievable when scale, tools, cost, and working methods are chosen deliberately. Start with a question you can finish, preserve what it teaches, and let the next project grow from that evidence.