Why Foam Cutting Matters in Creative and Practical Work
Foam cutting is the process of shaping foam materials into useful, decorative, protective, or structural forms by using hand tools, heated cutters, saws, knives, and specialty equipment. At first glance, it may seem like a simple craft technique, but foam cutting plays an important role in industries and hobbies that range from packaging and insulation to cosplay, architecture, event design, signage, prop making, upholstery, and model building. Its popularity comes from one major advantage: foam is lightweight, versatile, relatively affordable, and easier to shape than many traditional materials.
A: XPS is great for clean carving and practice, while EVA is a strong beginner choice for costumes, props, and flexible shapes.
A: That depends on the foam type, but sharp knives and hot wire cutters are among the most reliable tools for clean results.
A: Yes, many foam types can be cut with a very sharp utility or craft knife, especially for small or simple projects.
A: It can be, but ventilation is important, especially when sanding foam or using heated tools that may create fumes.
A: A dull blade, too much pressure, or the wrong tool for that specific foam type are the most common reasons.
A: In many cases yes, because sealing improves paint adhesion, surface smoothness, and protection from damage or solvent reactions.
A: It depends on the material, but contact cement, PVA glue, and foam-safe adhesives are common choices.
A: Yes, but outdoor use usually requires sealing, coating, and weather-resistant finishing for durability.
A: Use a sharper blade, lighter passes, careful measuring, and finish the surface with sanding or shaping tools.
A: No, hot wire cutting should only be used on compatible foams and always with proper ventilation and safety awareness.
Understanding What Foam Cutting Really Involves
Foam cutting is not just about slicing a block into smaller pieces. It involves choosing the right foam type, selecting the right tool for the job, controlling the cutting method, and finishing the surface so the final result matches the purpose of the project. Some foam is soft and flexible, while other foam is rigid and brittle. Some types respond well to heat, while others are best handled with extremely sharp blades or fine saws. Because of this, foam cutting is both a technical process and a creative skill.
The Different Types of Foam Used in Cutting Projects
Before anyone begins cutting foam, it helps to understand that not all foam behaves the same way. Expanded polystyrene, often called EPS, is a bead-like foam that is commonly used for packaging, insulation, large props, and lightweight sculptural forms. Extruded polystyrene, or XPS, has a denser and more uniform structure, making it a favorite for carving, modeling, terrain building, and cleaner detailed cuts. EVA foam is flexible, durable, and widely used in cosplay, fitness mats, and protective padding. Polyurethane foam appears in furniture cushions, sculpting blocks, and insulation applications, while polyethylene foam is valued for its durability and shock resistance.
How Foam Density Changes the Cutting Experience
One of the most important details in foam cutting is density. Low-density foam is often lighter and easier to cut quickly, but it can tear, crumble, or show rough edges. Higher-density foam tends to support sharper detail and cleaner surfaces, but it may require more control, better tools, and slower progress. When beginners struggle with rough cuts, the issue is often not just the tool but also the density and structure of the foam itself. Matching material density to project goals is one of the smartest ways to improve results from the beginning.
Common Uses for Foam Cutting in Everyday and Professional Projects
Foam cutting appears in more places than many people realize. In packaging, foam is cut to cradle delicate electronics, tools, or instruments. In home improvement, rigid foam boards are trimmed for insulation and weather resistance. In theater, film, and themed events, foam becomes fake stone walls, giant letters, props, columns, and decorative facades. In the crafting world, foam can become costume armor, signs, holiday displays, and model landscapes. The reason foam cutting remains so widespread is that it offers speed, scale, and visual flexibility without the weight or cost of wood, metal, or dense plastic.
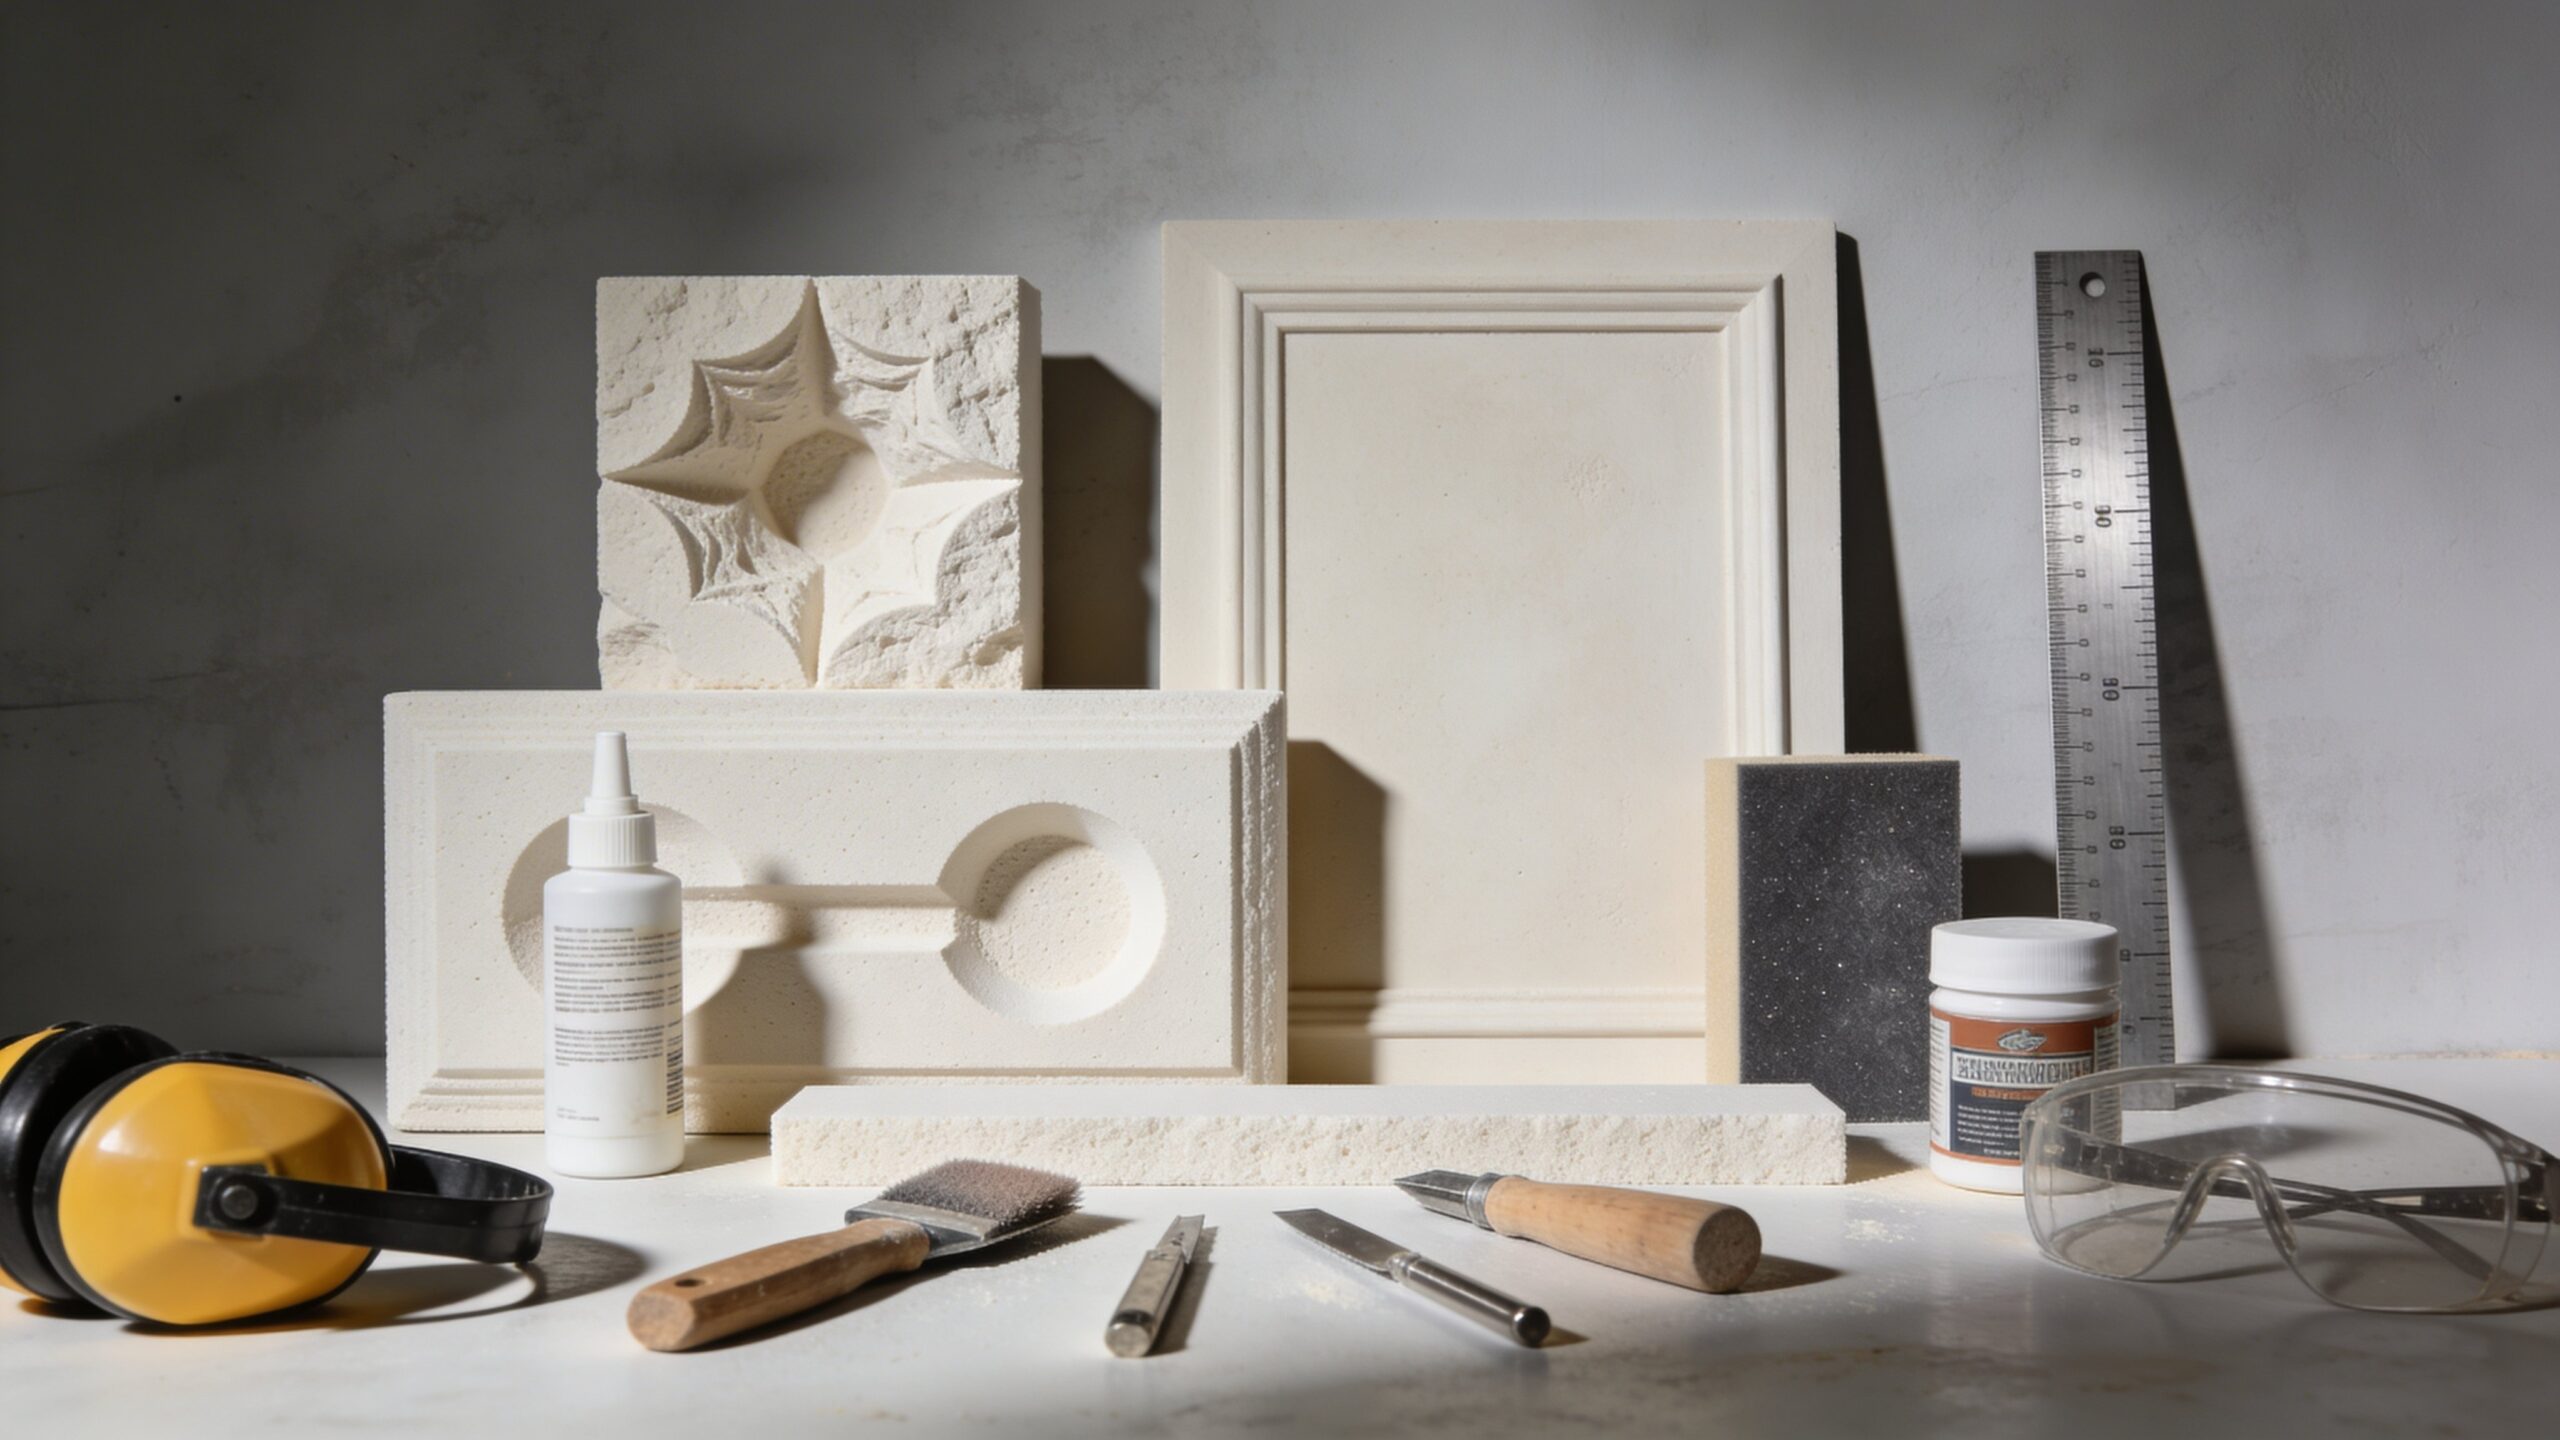
Essential Hand Tools for Foam Cutting
Many foam projects start with surprisingly simple tools. Utility knives, craft knives, snap-off blades, serrated knives, and hand saws are among the most common options. A sharp blade can produce very clean lines in many types of foam, especially when cuts are made gradually rather than forced in one pass. Long-blade knives work well for straight cuts through thicker sections, while smaller hobby blades are useful for fine trimming, shaping corners, and detail work. For curved shapes, a flexible blade or a coping-style saw may offer better control than a rigid straight knife.
When Hot Wire Cutters Are the Best Choice
Hot wire cutting is one of the most recognizable foam-cutting techniques, especially for EPS and XPS foam. A heated wire melts through the material rather than tearing or sawing it, which can create smooth, flowing shapes and crisp contours. This makes hot wire tools especially useful for signage, model terrain, sculptural forms, architectural mockups, and large decorative builds. The great advantage of hot wire cutting is that it can reduce surface tearing and allow long, elegant cuts that are difficult to achieve with a blade alone. However, it should only be used on compatible foams and always with excellent ventilation.
Power Tools That Can Help Shape Foam Faster
For larger or more complex projects, makers often use power tools to speed up shaping. Rotary tools with sanding drums can refine edges and create bevels. Jigsaws, foam saws, and reciprocating cutters may help on certain denser materials, although tool choice depends heavily on the foam type. Heat guns are also useful, especially with EVA foam, because they can soften the material and help it hold curved forms. Power tools can make foam cutting more efficient, but they also require a careful hand. Too much speed, pressure, or heat can damage the foam faster than expected.
How to Choose the Right Tool for the Job
The best foam cutting tool depends on the material, the scale of the project, and the finish required. Straight insulation board cuts may call for a long utility knife or hot wire table. Detailed EVA costume work often benefits from sharp blades, rulers, bevel guides, and a heat gun. Large sculptural work may require a mix of hot wire cutting for rough form and rasps or sanding blocks for refinement. If a project needs perfectly smooth long curves, heat-based cutting may be ideal. If it needs textured detail or sharp angles, manual blades and shaping tools may offer more control.
Planning the Cut Before You Start
One of the most overlooked parts of foam cutting is preparation. Good results often come from careful layout before any blade or wire touches the foam. Measuring lines clearly, marking center points, using templates, and checking scale can save time and material. When projects are symmetrical, centerlines are especially important. It also helps to think about cutting order. Removing too much material too early can weaken the shape or make later detail work harder. Strong foam cutting technique begins with patience and a clear plan.
Basic Cutting Techniques for Clean Results
Clean foam cutting is usually about control rather than force. With blades, light repeated passes often create a better edge than one deep aggressive cut. Letting the tool do the work reduces tearing and keeps lines straighter. With hot wire cutters, steady movement matters more than speed. Moving too fast may drag or skip, while moving too slowly may over-melt the surface. In both cases, consistency is what produces cleaner results. Foam often rewards smooth motion and punishes rushed handling.
How to Cut Straight Lines in Foam
Straight cuts are common in insulation, packaging inserts, panels, and display work. To achieve them, it helps to use a metal straightedge, a long cutting surface, and a sharp blade. Mark both sides of the foam whenever possible so the cut can stay aligned through the full depth. For thicker rigid foam, scoring the top surface first and then deepening the cut in stages often leads to better accuracy. A hot wire fence system can also help produce extremely even straight lines for repetitive work.
How to Cut Curves, Angles, and Detailed Shapes
Curves and angled cuts require a different mindset. Instead of trying to force a finished shape in one motion, it is often better to remove foam gradually. Roughing out a curve first and then refining it with smaller cuts, sanding, or shaping tools can create a more polished result. For bevels in EVA foam, makers often hold the blade at a consistent angle or use specialized guides. For rigid foams, rasps and sanding blocks can smooth transitions after the initial cut. Detail work almost always improves when the first pass leaves extra material for later refinement.
Shaping and Finishing After the Initial Cut
Cutting is only the first stage in many foam projects. After the rough shape is complete, the surface may need sanding, carving, heat shaping, filling, sealing, or priming. Sanding blocks are useful for flattening or blending edges. Rasps and surforms can remove material quickly from rigid foam. On EVA foam, heat can close the surface slightly and prepare it for coatings. If the finished project will be painted, a smooth and sealed surface often makes the difference between something that looks homemade and something that looks professionally designed.
The Role of Adhesives in Foam Projects
Foam cutting projects often involve assembly as much as cutting. Pieces may need to be laminated, joined at angles, reinforced, or built in layers. Different adhesives work best with different foam types. Contact cement is widely used with EVA foam because it creates flexible, durable bonds. PVA glue and foam-safe construction adhesives are common for polystyrene. Urethane glues can also be useful in certain structural builds. Choosing the wrong adhesive can damage the foam, create weak joints, or ruin the surface, so compatibility always matters.
Safety Tips Every Foam Cutter Should Know
Safety is one of the most important parts of foam cutting, especially because the material can seem harmless at first. Sharp blades can slip easily if too much pressure is applied, so controlled cutting technique and a stable work surface are essential. Eye protection helps guard against dust, fragments, and accidental tool contact. Gloves may be useful in some situations, although they should not reduce control. A clutter-free workspace can also prevent mistakes, especially when long tools, heated cutters, or large foam panels are involved.
Why Ventilation and Respiratory Protection Matter
Some foam cutting methods create fine dust, while others can produce fumes. Sanding rigid foam may release lightweight particles that linger in the air and settle across the workspace. Hot wire cutting and heat shaping can generate odors and fumes that should never be ignored. Good ventilation is important, and in many cases a suitable respirator is a wise choice. Dust masks are not the same as proper respiratory protection for all conditions. Anyone working regularly with foam should treat air quality as a serious part of the setup, not an afterthought.
Avoiding Common Mistakes in Foam Cutting
Many common foam cutting mistakes come down to rushing. Using a dull blade, cutting without measuring, ignoring foam type, applying too much heat, or skipping test cuts can all lead to poor results. Another frequent mistake is assuming one tool works for every foam. What cuts EVA neatly may ruin EPS, and what melts through XPS smoothly may not suit flexible foam at all. Testing on scraps first is one of the simplest and smartest habits a beginner can develop. It allows adjustments before the actual project is at risk.
Foam Cutting for Beginners
For beginners, foam cutting is one of the most approachable ways to learn material shaping. It does not demand an industrial workshop, and many projects can begin with basic knives, rulers, templates, and affordable foam sheets or boards. The key is to start small. Practicing straight lines, curves, bevels, and layered assembly on scrap pieces builds confidence quickly. Foam is forgiving enough to encourage experimentation, yet technical enough to reward skill development. That balance is part of what makes it so satisfying.
Advanced Foam Cutting for High-End Results
As experience grows, foam cutting can become surprisingly sophisticated. Makers use precision templates, hot wire tables, CNC-guided systems, advanced coatings, armatures, and hybrid fabrication methods that combine hand carving with digital design. Large event installations, detailed cosplay builds, architectural models, and display pieces often rely on these advanced techniques. At that level, foam is no longer treated as a temporary material but as a design medium with its own language of structure, texture, finish, and illusion.
Why Foam Cutting Continues to Grow in Popularity
Foam cutting continues to attract hobbyists and professionals because it offers an unusual mix of speed, scale, and creativity. Few materials allow someone to build something large, lightweight, detailed, and visually impressive with relatively accessible tools. Whether the goal is practical insulation trimming or dramatic artistic fabrication, foam cutting provides a flexible path from idea to object. It teaches planning, precision, tool control, finishing, and safety awareness all at once.
Final Thoughts on Foam Cutting, Tools, Techniques, and Safety
At its core, foam cutting is the art and skill of transforming a simple material into something purposeful. The right tool, the right technique, and the right safety habits can turn foam from a basic sheet or block into a polished final piece that looks far more expensive and complex than its origins suggest. For beginners, it is an inviting craft with a low barrier to entry. For experienced makers, it is a serious creative discipline. Understanding foam types, respecting the tools, and working safely are what separate rough experiments from truly impressive results.