Choose a Coating Process, Not Just a Color
Painting foam involves two separate questions: will the coating produce the intended surface, and can the studio apply it with appropriate controls? A product may adhere beautifully while introducing a spray, solvent, or reactive-chemical task that the workspace cannot support. Conversely, a convenient paint may leave the foam damaged, sticky, or poorly protected. Good finishing starts by treating the core, primer, filler, color, and topcoat as a connected system, then matching the application method to the available facilities. The familiar instruction to test on a scrap is valuable, but only when the scrap represents the real layers and the test includes application, cure, handling, and the next fabrication step.
A: No. Review the full formulation, application method, and required controls.
A: Use only methods supported by its manufacturer.
A: No. Test and document the complete compatible system.
A: A flat bare sample can miss a failure at adhesive, filler, or a joint.
A: Do not change the specified ratio to meet a deadline.
A: No. Excess film build may impair appearance or cure.
A: Use only approved curing methods and investigate abnormal cure with the supplier.
A: It does not establish suitable ventilation or ignition protection.
A: It records color, texture, and layer choices for later maintenance.
A: Relevant handling, cleaning, repair, and remaining cure restrictions.
Define What the Finished Surface Must Do
Write a short finish brief before shopping. Include viewing distance, sheen, texture, expected handling, display environment, and the desired service period. A stage rock viewed under theatrical light may need broad color variation and a matte texture, while a small exhibition model may reveal every brush mark. Do not choose a more chemically demanding coating simply because its marketing promises exceptional durability that the project does not actually need.
Decide whether the surface is decorative, protective, or part of a documented assembly. If fire performance, weather resistance, or structural reinforcement is claimed, establish what evidence is required and who reviews it. Paint color and hardness are not substitutes for those records. A coating can improve appearance without making the sculpture suitable for public contact, outdoor exposure, or a regulated venue.
Include maintenance in the brief. Will the piece be touched up between performances, cleaned by venue staff, or stored in modules? A finish that cannot be repaired with the available equipment may become impractical after the first scuff. Document cleaning and repair limits with the final handover so the next person does not attack a delicate coating with an incompatible solvent.
Set acceptance criteria with the client before the sample is approved. Clarify whether minor pores, brush texture, visible seams, or slight color variation are intentional. This agreement prevents unnecessary sanding and recoating after delivery, especially when a request for a glossier appearance would require a different product system. Keep a photograph of the approved sample with the written finish brief.
Identify the Core and Every Existing Layer
Confirm the foam product and obtain processing information before adding liquids. The word foam covers materials with very different behavior, and a supplier’s compatibility statement may apply only to certain substrates. Inspect seams, fillers, previous coatings, release agents, and contamination. If the sculpture has an unknown surface history, resolve it before sanding or recoating. A known core does not make an unidentified hardcoat or old paint known.
Request the technical and safety documents for each proposed layer. Technical instructions describe substrate preparation, coverage, thickness, application conditions, and cure; safety documents address hazards and controls. Read both. Match the exact product and component names, including activators and thinners. Avoid treating a related brand name or another artist’s experience as evidence for a different formulation.
Build a Representative Coupon
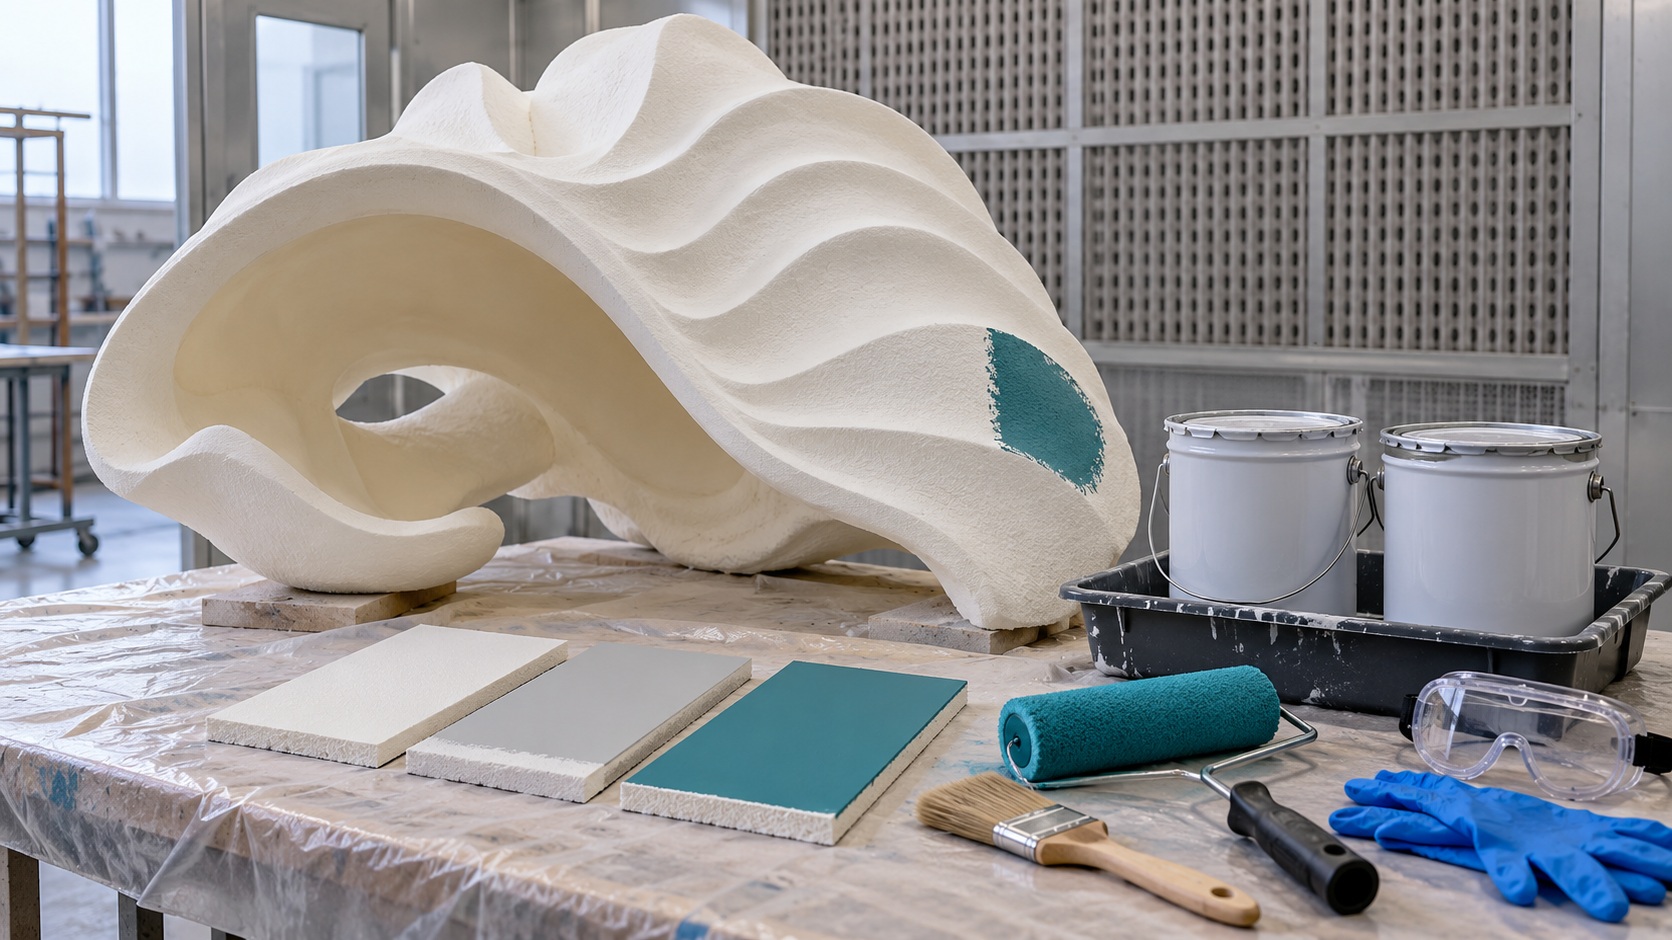
Prepare a sample with the same foam, adhesive seam, filler, reinforcement, and surface preparation intended for the sculpture. A plain flat offcut can miss the very detail that later fails. Include an edge and a seam if those are present in the artwork. Mark the sample record with the product names, batch details where useful, application order, and dates so a successful result can be reproduced.
Apply the proposed system according to its instructions, using the intended method and realistic layer thickness. Watch for surface recession, swelling, loss of detail, delayed tack, poor adhesion, or an unexpected reaction. Stop if abnormal behavior occurs and consult the supplier. Do not assume that an extra sealing coat will correct a compatibility problem; it may simply conceal it until handling or transport reveals the weakness.
Let the sample reach the product’s specified stage before evaluating it. Touch-dry is not necessarily full cure, and a quick thumbnail test does not establish long-term durability. Use supplier guidance for appropriate adhesion or performance evaluation when needed. Observe the finish under the real lighting and from the intended distance. A technically sound coating may still be visually wrong, and that is better discovered on a coupon than on a completed sculpture.
Keep the successful coupon with the project record rather than discarding it immediately. Protect it from uncontrolled storage conditions so later comparisons are not confused by damage unrelated to the original finish. It can serve as a reference for color, texture, repair materials, and layer order. If any component changes, make a new representative sample. Do not silently substitute a different primer or thinner and rely on an earlier test that no longer describes the assembly being made.
Prefer an Application Method the Workspace Supports
Brushing, rolling, and spraying create different exposure and finish conditions. If a brush or roller can meet the finish brief with an approved product, it may avoid the need to atomize the liquid. That does not eliminate chemical precautions, but it changes the release mechanism. Ask the manufacturer whether the product supports the proposed method, and follow its instructions rather than modifying viscosity until an unsuitable product seems usable.
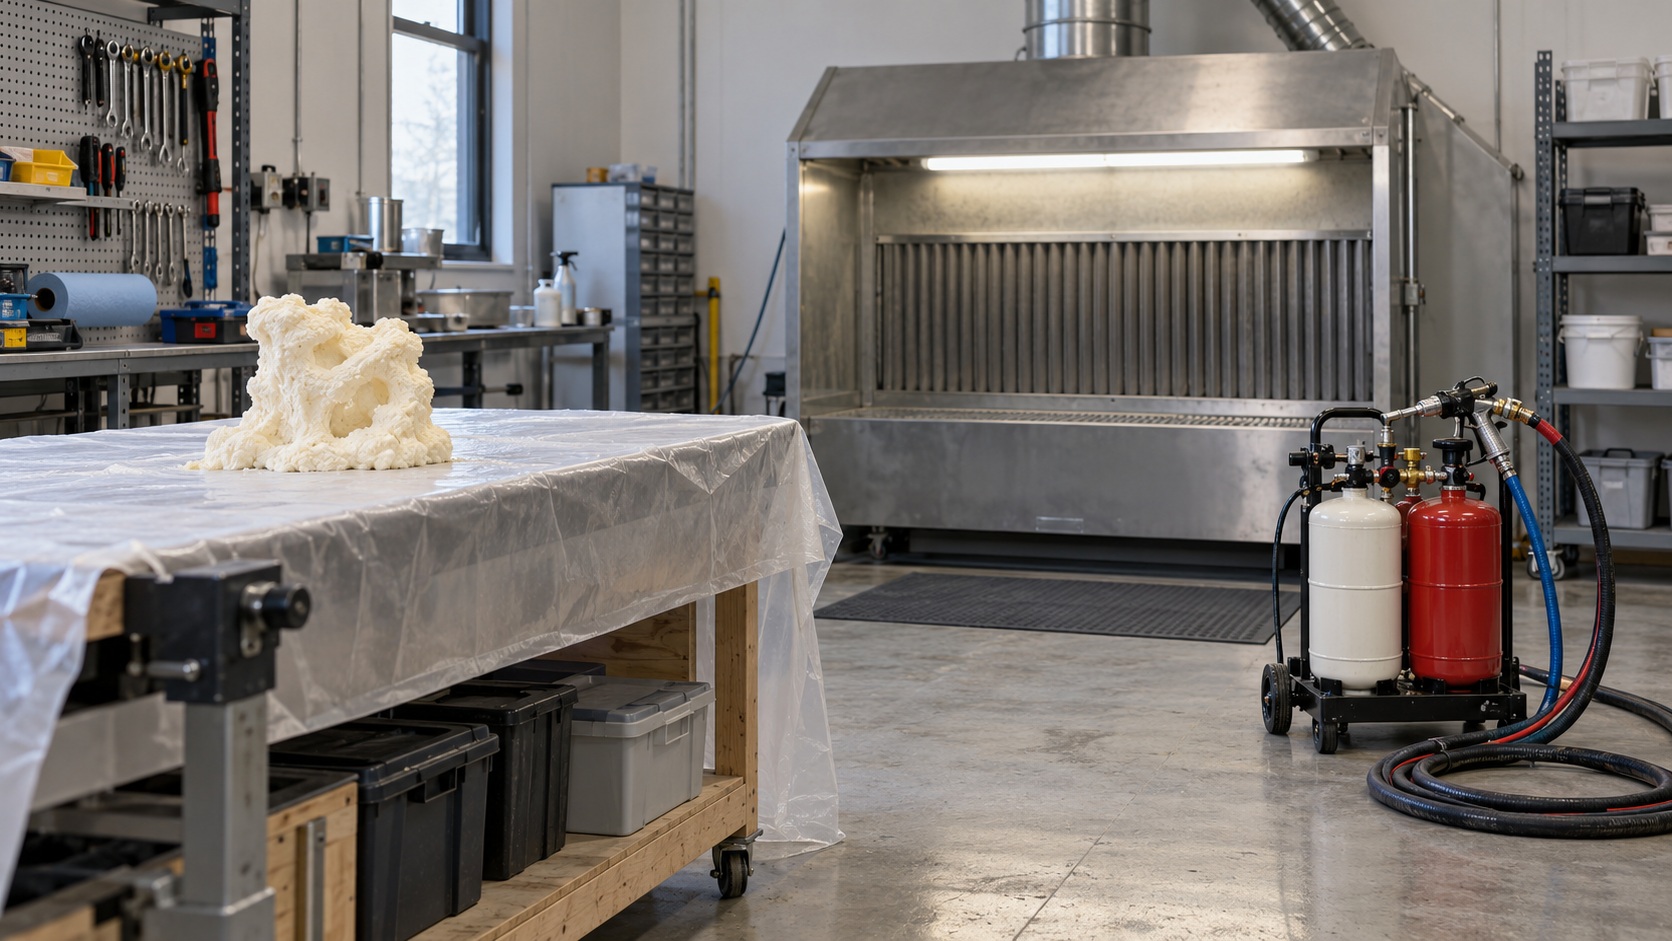
Spraying can distribute droplets beyond the sculpture and contaminate nearby objects, clothing, and unprotected skin. A cardboard screen is not a spray booth, and a dust extractor is not automatically designed for finishing mist or vapor. Have the application area and ventilation assessed for the actual products, quantity, and equipment. Overspray control, discharge location, ignition hazards, and the people outside the immediate work area all deserve attention.
OSHA’s spray-finishing standard addresses requirements for operations involving flammable and combustible materials. Applicable rules depend on the workplace and process, and health exposure controls need their own assessment. Obtain qualified advice rather than building a spray enclosure around a household fan and assuming outward airflow makes the arrangement acceptable.
Read Beyond Water-Based and Low-Odor Claims
Water-based describes an important formulation feature, not the absence of every hazardous ingredient. Low odor is not an exposure measurement, and a lower solvent content does not automatically make spraying suitable in a shared room. Review the actual safety sheet, application instructions, and relevant product certifications rather than translating a reassuring package phrase into a universal claim of harmlessness.
Reactive coatings deserve particular scrutiny. Some polyurethane coating systems contain isocyanates; NIOSH describes their irritation and sensitization hazards in its isocyanate guidance. Determine whether the proposed product introduces that chemistry and what facilities and protection its application requires. A resilient surface is not a reason to perform a process beyond the studio’s capability. Outsourcing may be the appropriate finishing decision.
Prepare the Surface Without Contaminating It Again
Use the preparation method approved for the substrate and coating. Remove dust with a suitable controlled method, and avoid redistributing it with compressed air. If abrasion is required, assess the dust from every layer being removed and use appropriate collection and personal protection. Do not sand an unresolved uncured coating simply to make it feel dry. Preparation should leave a known, suitable surface rather than disguise a problem.
Keep personal items and dirty chemical tools away from the prepared sculpture. Oils, residues, and inappropriate cleaning products can compromise adhesion or appearance. Follow the manufacturer’s cleaning recommendations; do not wipe foam with whatever solvent happens to be available. Allow required drying or preparation intervals, and keep a record if a later failure might depend on the sequence.
Plan how the object will be supported and turned. Contact points can leave marks or damage a soft surface, while unsupported thin sections can break during rotation. Complete difficult-access areas without requiring a worker to hold freshly coated foam against clothing or skin. A stable stand or planned modular sequence often improves both the finish and the ability to maintain exposure controls.
Stage the required tools before mixing. Include approved measuring equipment, clean applicators, compatible containment, protective equipment, and waste arrangements. Keep the work area restricted to the finishing task so a colleague does not begin cutting or heating nearby. Finishing quality benefits from the same orderliness that keeps liquids, dust, and ignition sources from meeting unexpectedly.
Respect Mixing, Film Build, and Working Time
Follow the specified ratio and mixing method for multicomponent products. Do not guess from the container shape or add extra activator to accelerate a deadline. Prepare only a quantity consistent with the product’s limits and the planned application. The working time in a mixed container is not necessarily the same as the time available on a thin film, and temperature can affect behavior in product-specific ways.
Apply the intended film build rather than assuming a thicker coat always provides better protection. Heavy application can obscure detail, run, or interfere with cure depending on the system. Use the manufacturer’s instructions for coverage and recoat intervals, and maintain the required conditions. If those conditions cannot be provided, postpone or change the system instead of improvising heat or additives.
Give Curing Work Its Own Space
Keep curing pieces in the location and ventilation conditions required by the product. Other workers may encounter emissions without having participated in painting, especially if the object is moved beside an office or stored near a shared entrance. Communicate the restrictions to everyone using the space. A project tag should identify the product, application time, responsible person, and conditions for release rather than declaring the piece ready at an arbitrary hour.
Do not accelerate cure with an unapproved heat gun, space heater, or enclosed improvised oven. Heating can affect the foam and coatings while introducing ignition and exposure hazards. Use only documented curing methods in appropriate equipment. If a batch remains tacky, reacts unusually, or develops an unexpected condition, stop handling it and obtain supplier advice. More paint is not a diagnostic tool.
Plan transport after the specified handling stage, using supports and wrapping compatible with the finish. A surface may resist a light touch yet mark under concentrated straps or prolonged packaging contact. Test the proposed packing arrangement when the appearance is critical. Include remaining cure or ventilation restrictions in the receiving team’s instructions so the object is not unwrapped into an unsuitable occupied area.
Close the Session With Controlled Cleanup
Read cleanup directions before starting application. Identify the approved cleaning materials, required controls, and destination for contaminated liquid, wipes, applicators, and leftover components. Do not combine unrelated residues in one bucket or pour cleaning liquid into a drain on the assumption that a water-based product makes disposal unrestricted. Obtain appropriate local waste guidance for the actual residues.
Remove contaminated protective equipment without spreading residue to clean surfaces, then wash as directed. Workshop solvents are not skin cleaners. Inspect reusable equipment before returning it to service, and separate items still awaiting decontamination. Record any deviations, product changes, or cure concerns while the details remain available. That record can prevent a future repair from repeating an unsuccessful layer combination.
Finish With Evidence You Can Repeat
A good foam finish comes from a compatible tested system, a supported application method, and disciplined cure and cleanup. Keep the sample and records so the attractive result can be maintained without guessing.